Your go-to hub for AI tools, expert tips, and smarter customer growth
Unlock actionable strategies, real-world insights, and AI solutions to scale customer acquisition and engagement — all part of the Vendasta resource library.
Don’t miss this
High-value read from our experts

AI Employees: The Future of the Unified Digital Workforce
AI & Automation | Mar 4, 2026
Learn how AI employees handle marketing, sales, and customer engagement tasks so businesses can scale faster without adding headcount.
Articles

")

Agency insights

Franchise insights


Software insights


On-demand webinars
Leading With AI: Rewriting the Future of Work
The First-Year $1M Agency Blueprint: AI-Driven Path to Success With Vendasta
Vendasta Connect | From first call to five stars
AI Employee Go-to-Market Blueprint: Sell AI Services & Drive Revenue for Agencies
Unlocking Custom AI Capabilities | Solve client challenges with tailored AI solutions
Webinar: Vendasta Conversations AI | Unlock AI Voice & Growth


Watch & learn
How Agencies Actually Make Money With AI (And You Can Too)

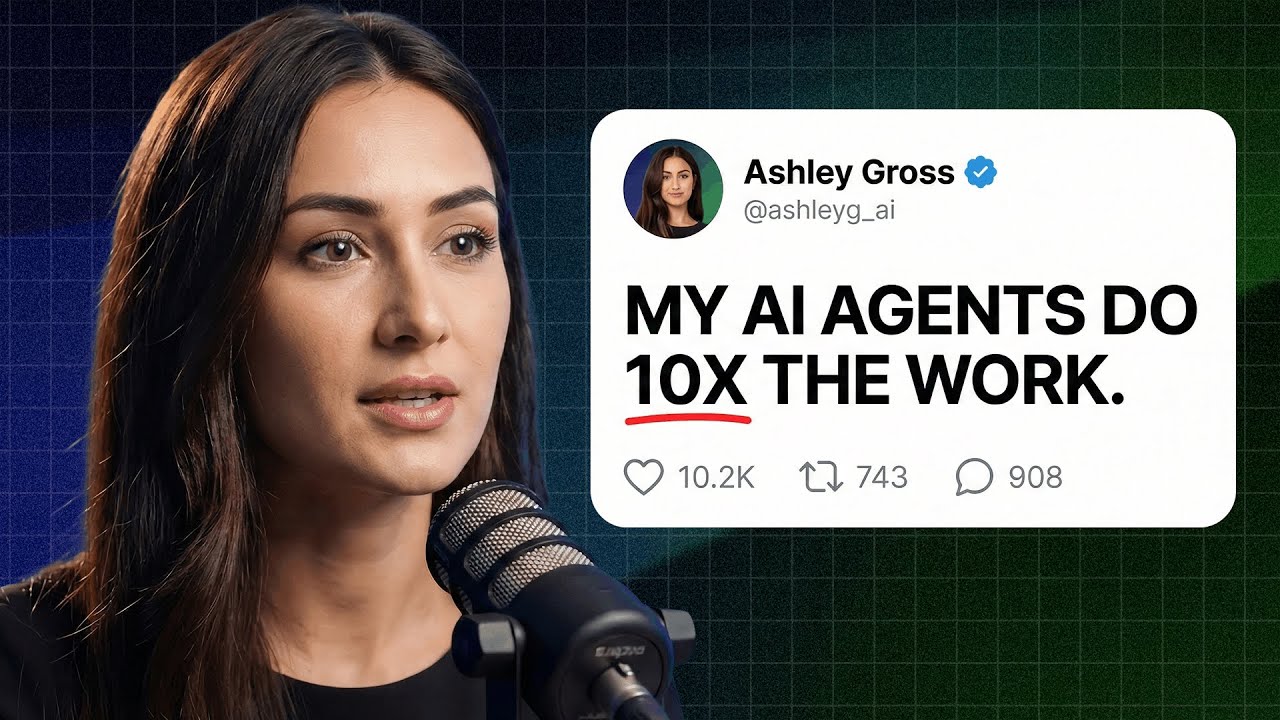
She Made $1.2M Selling AI Agents (EXACT 4-Step Framework)
Watch Me Build a $3000 AI Receptionist LIVE for a Client (7 Minute)
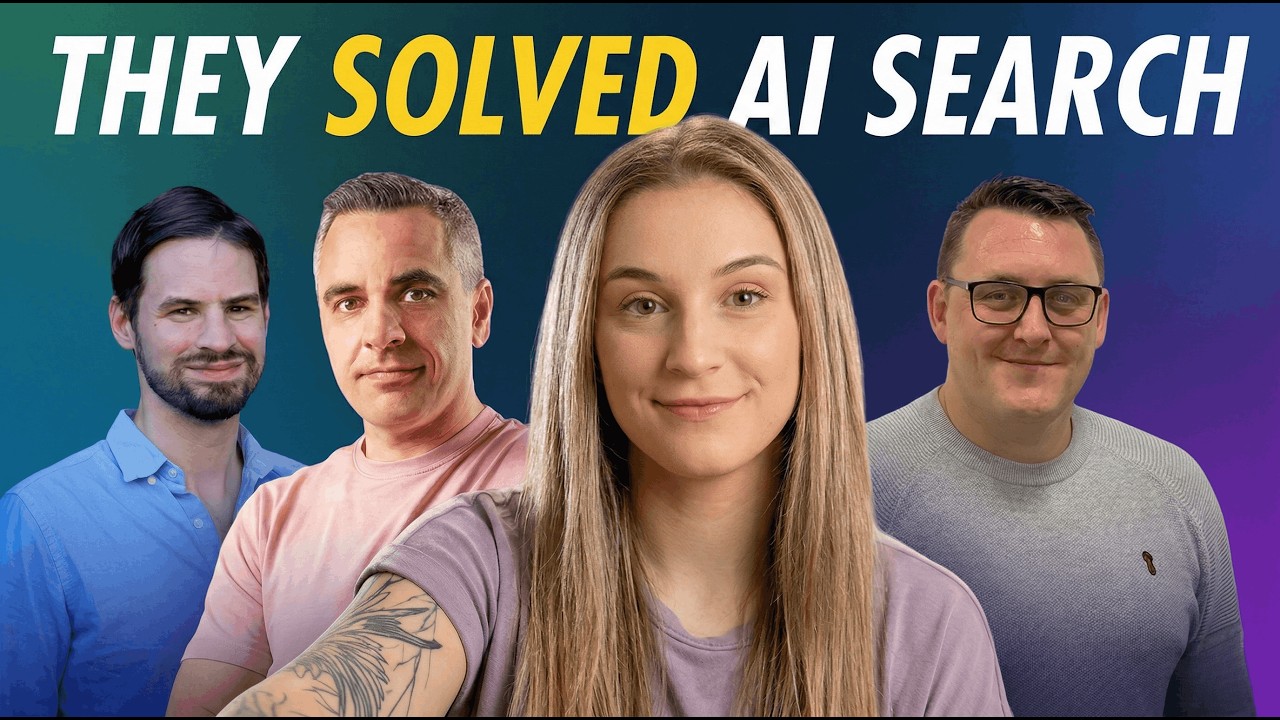
Top AI Search Specialists Reveal How to Win AI SEO in 30 Days (Anybody Can Copy This)
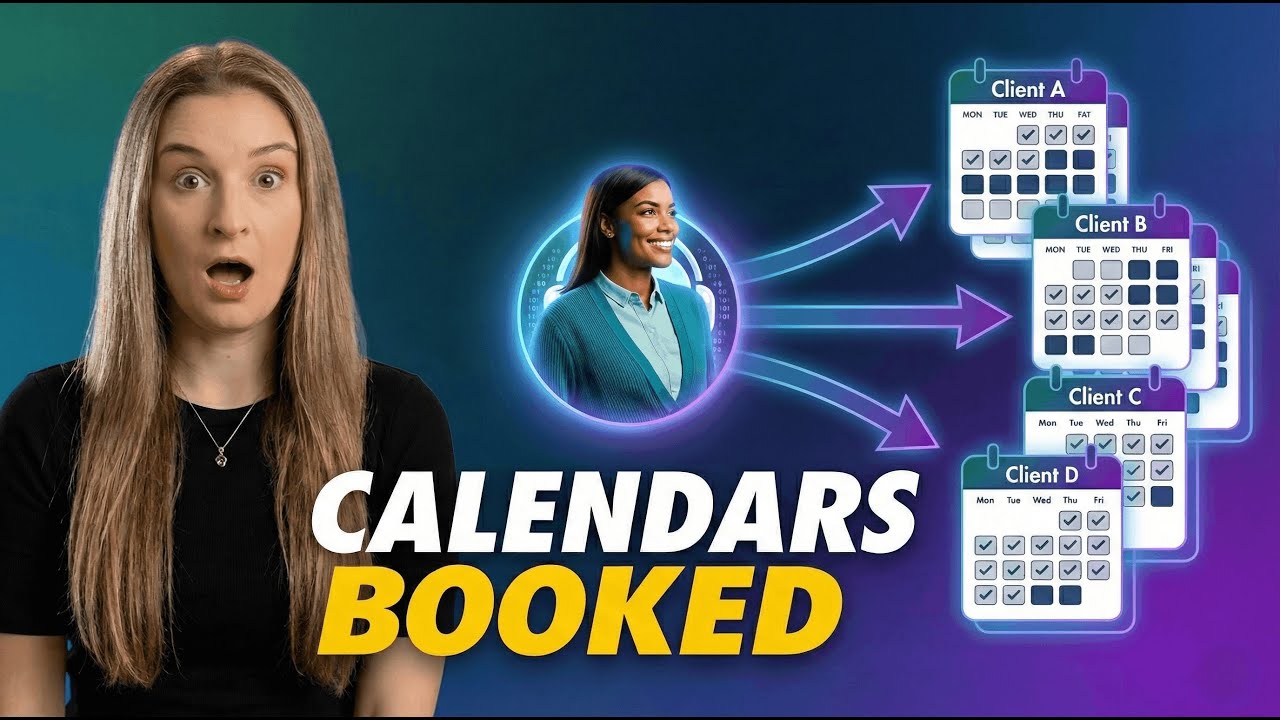
She Built 11 AI Agents and Cut 80% of Her Workload (Here’s How)
The AI Receptionist Agencies Use to Capture More Leads for Clients